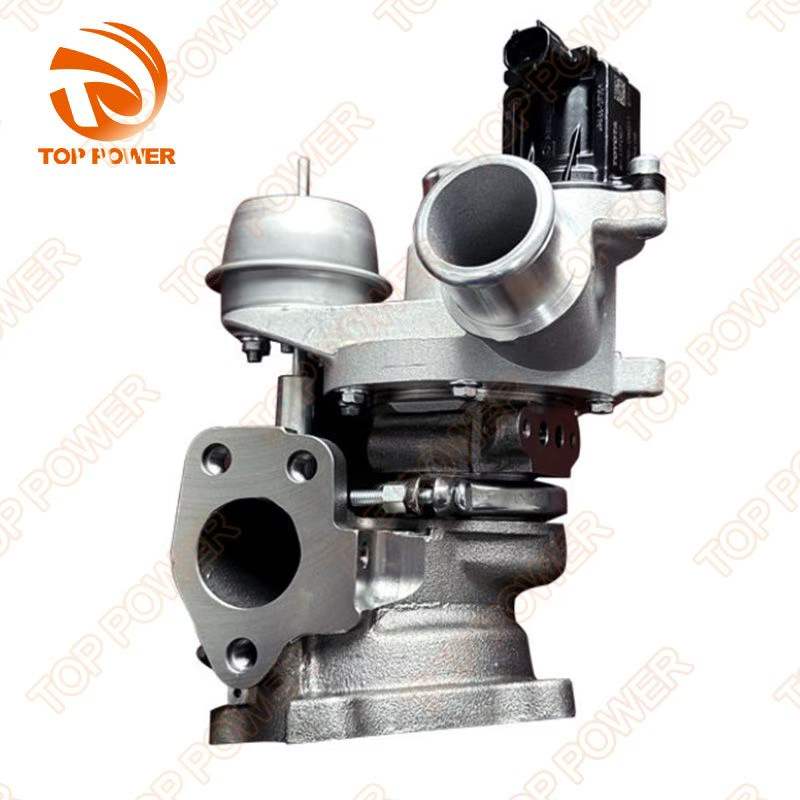
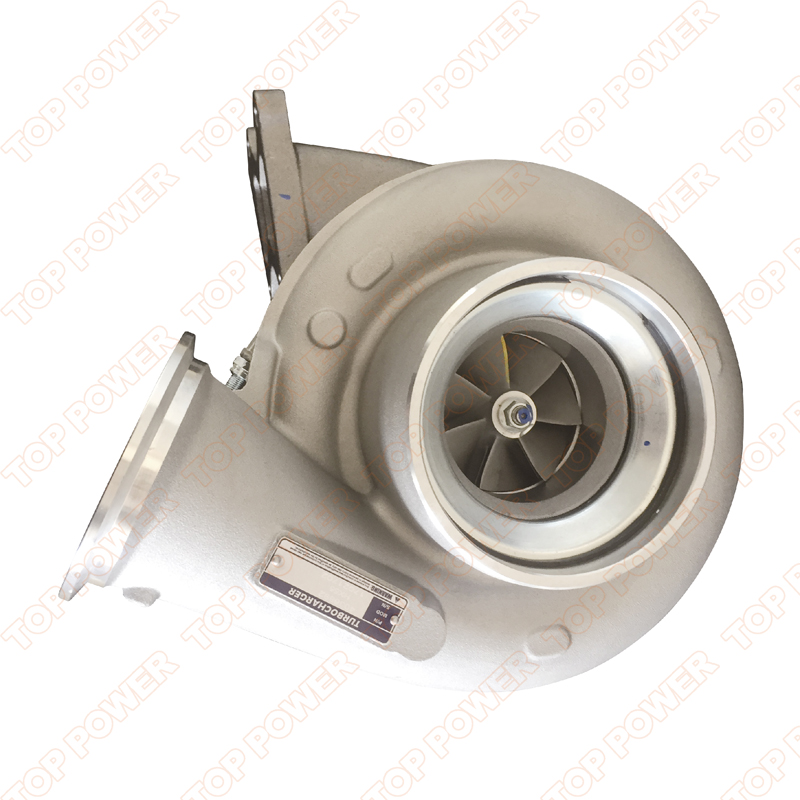
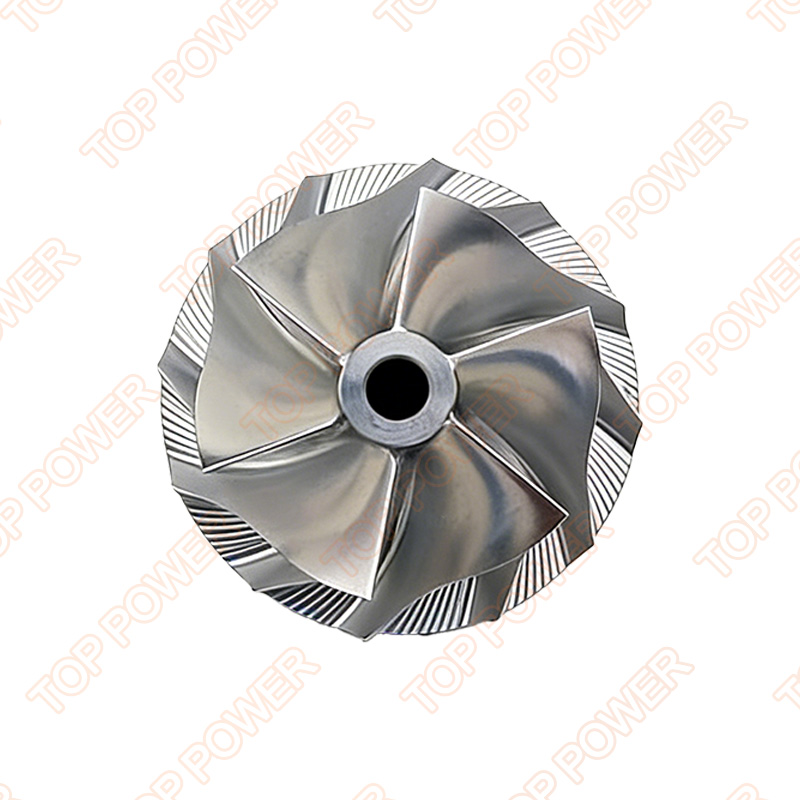
Fengcheng Top Power Introduces On-Floor Handheld 3D Scanning for Faster, More Accurate QC
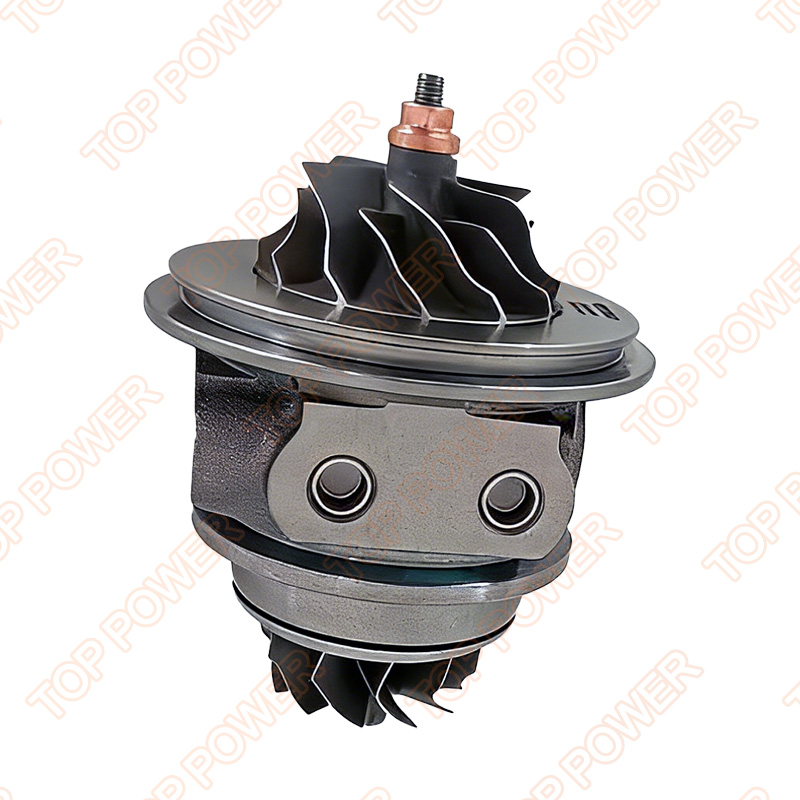
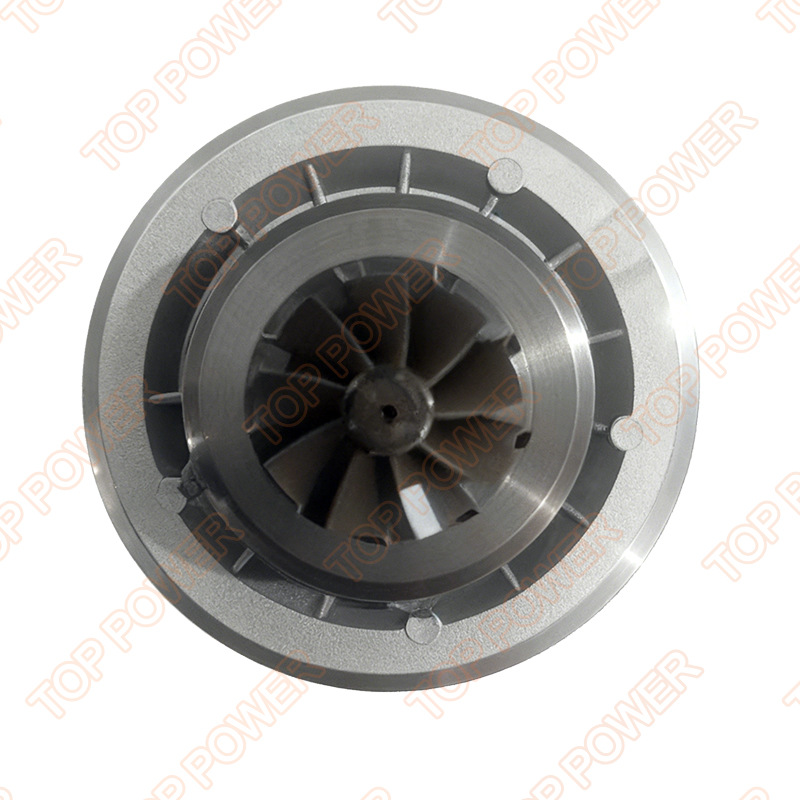
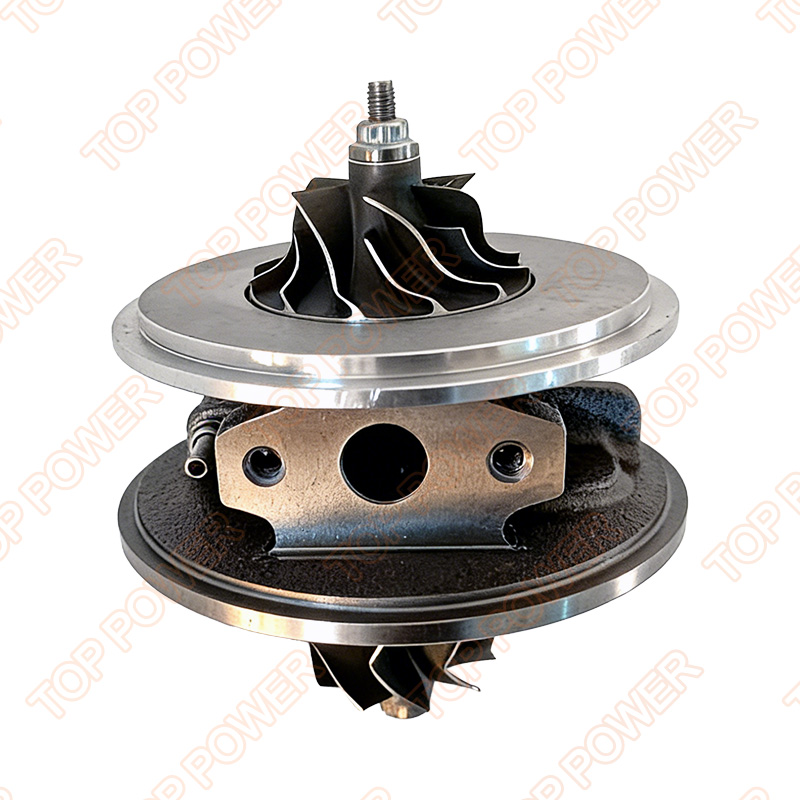
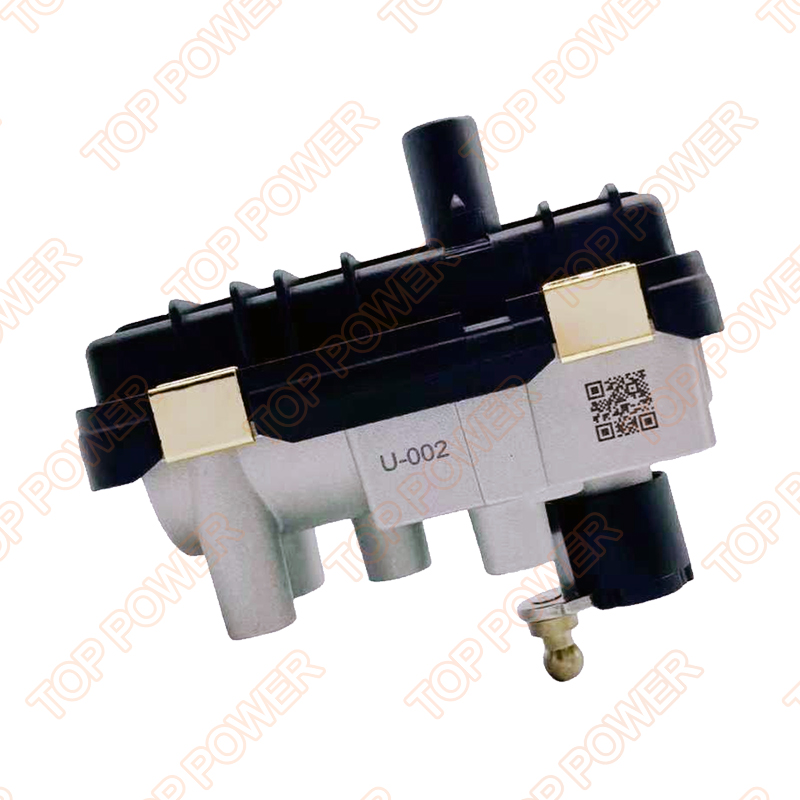
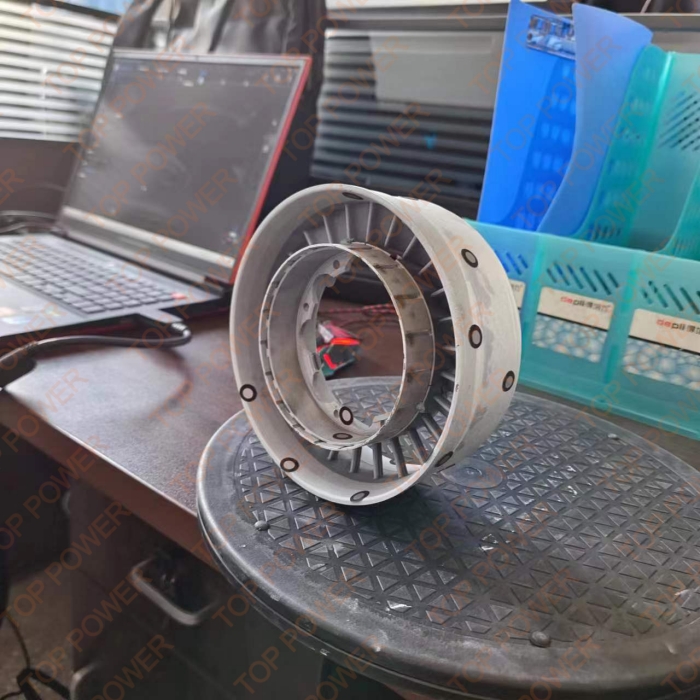
Fengcheng Top Power Co., Ltd is excited to announce the integration of handheld 3D scanning into our inspection and reverse-engineering workflow. The photos above show our technicians scanning turbocharger components directly at the workbench — a practical step that speeds up quality checks, supports custom development, and improves communication with customers around the world.
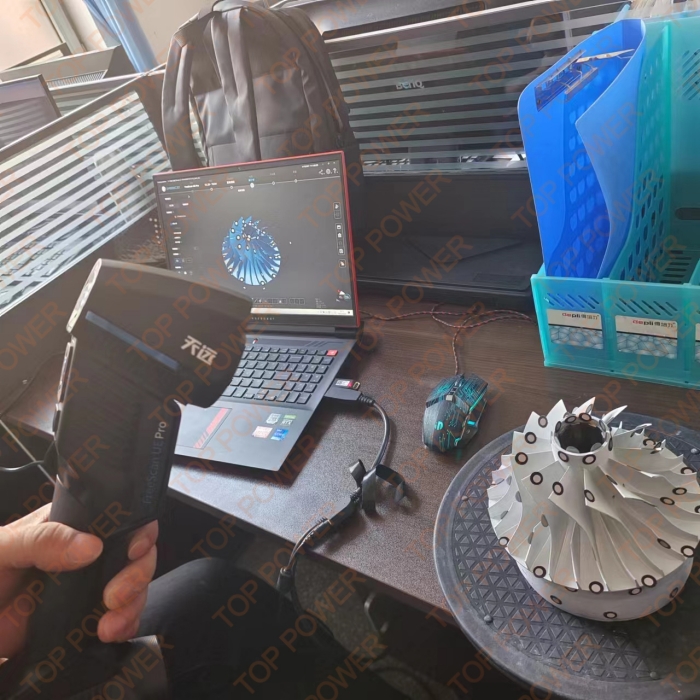
What we're doing
Using portable 3D scanners, our team captures high-resolution surface data of compressor wheels, housings, and rotating assemblies. The scans are processed into digital models that can be used for:
Dimensional inspection & deviation reports — compare produced parts to CAD or golden samples and generate color-map reports.
Reverse engineering — create CAD files from legacy or damaged parts for reproduction or improvement.
Rapid prototyping & customization — shorten the cycle from customer requirement to sample by exporting scan data for modification and machining.
Remote collaboration — share accurate models and inspection reports with customers and engineering partners for approvals without waiting on physical samples.
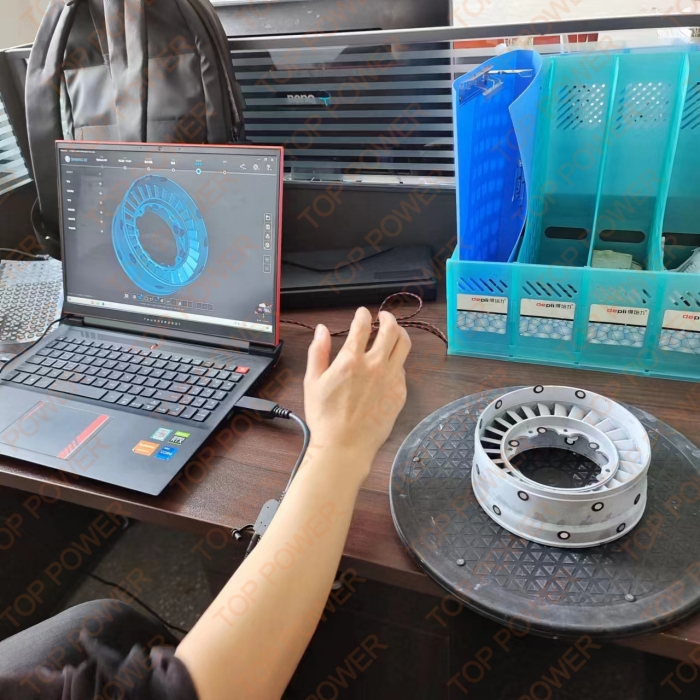
We have integrated the 3D scan outputs directly into our production and engineering systems. Scan files feed into our CAD/CAM toolchain so engineers can quickly validate machining programs, simulate fits, and update tooling tolerances. This closed-loop workflow reduces iteration times between first sample and final approval, meaning customers see functioning prototypes sooner and with fewer surprises during assembly.
Operator training and process control are key to consistent results. Our technicians follow standardized scanning procedures — including fixture setup, reference-point placement, and post-scan cleanup — to ensure repeatable accuracy. All scan reports are saved with batch identifiers and timestamps, which supports traceability and allows us to correlate inspection data with downstream balancing, assembly, and performance testing.
Benefits for our customers
Non-destructive inspection that preserves the part while delivering millimetre-level accuracy.
Faster verification and approval — reduced lead time for sample sign-off and production.
Clear, traceable documentation to support quality audits and OEM requirements.
Better fit-for-purpose solutions when customers request blade profile tweaks or bespoke hub inserts.
If you'd like a scan of your part, a reverse-engineered CAD file, or a formal inspection report for a sample, our export sales and engineering teams are ready to help. Contact us to arrange a scan or request example reports.


